
Want to know how to do a perm at home? I’ll show you the steps to get a perfect, natural curl pattern without spending those dollars!
We’ve heard of curly heads hankering after straighter hair, a convenience where the comb just glides through. And then, there are those tired of the flat look of straight hair. If only you could create those loose waves that add volume.
The best way to do so is to get a Perm. Introduced as the “permanent hairstyle”, perms have been around for ages. The tight ringlets sported by actresses of period dramas automatically come to mind.
However, those stiff grandma curls gave an impression of an artificial, made up look. Besides, they have to be touched up every once in a while to retain their shape and look. That’s too many visits to the salon and a lot of money spent.
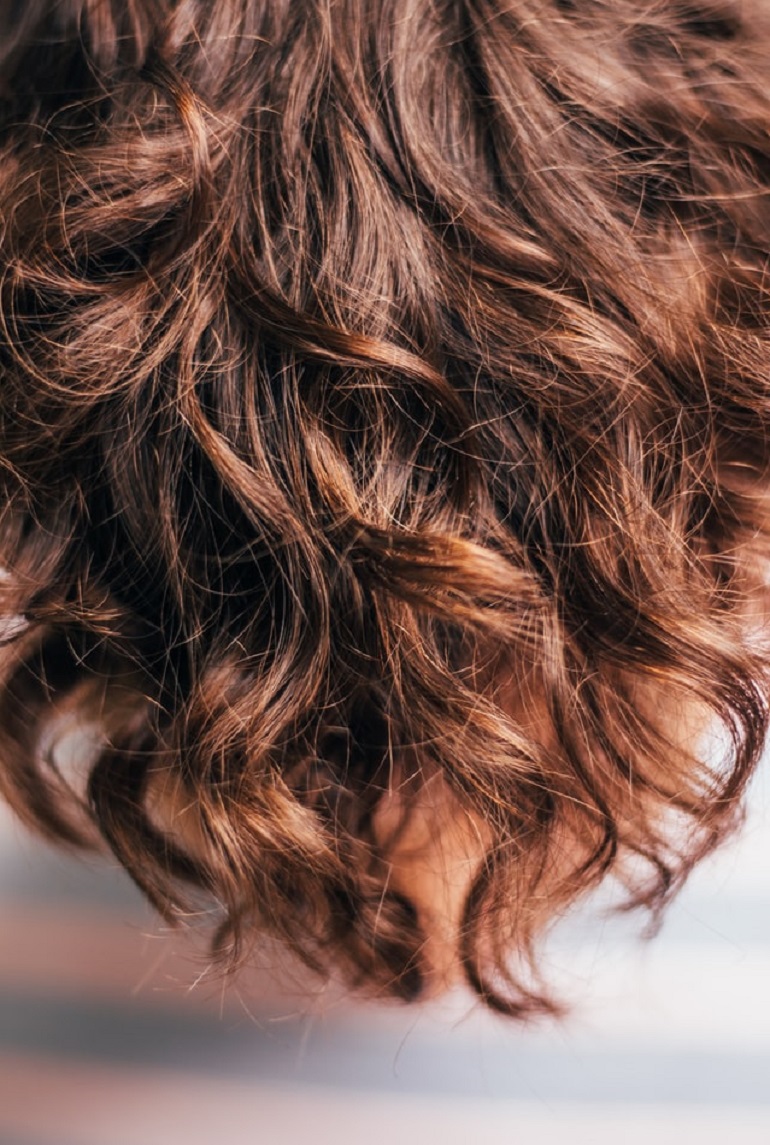
Modern day perms are looser and more relaxed in their appearance. Making use of varied size rollers, they achieve a more natural looking curl pattern.
Can it be done at home? Definitely.
If you are worried about messing up your hair with a procedure done wrong, here’s a short “how to do a perm at home” guide to get you started.
How is a perm done?
Perming involves restructuring the wave pattern of your hair, from straight to curly. Strands of hair are wrapped around rollers or rods. A perm solution is applied to the hair to hold the curls in place. This is the cold perm technique.
The second method, the digital perm, borrows the same two steps as the cold perm. It further applies heat to alter the structure of the hair. After allowing it to sit for a while, the hair is then rinsed and allowed to set. The procedure is finished off with a neutralizing solution. The chemical formulation determines how long the perm will last.
Should you get a perm?
You need to assess the health of your hair first if you are considering how to perm your hair curly at home.
Dry, damaged hair can make your perm look like a messy mop. The chemicals and heat cause the hair follicles to break down. Steer clear of a perm, home or salon, if your hair is not healthy. What you can do is care for your hair to restore its health with deep conditioning and the use of moisturisers.
I wouldn’t advise getting a perm if you have dyed or highlighted hair. Coloring agents and styling tools cause damage to hair.
Chemical formulations used in perming can further impact the quality of your hair negatively. It becomes dry, listless and brittle, increasing breakage. Women with highlights can choose to use a perm kit for dyed or colored hair.
How to perm your hair curly at home?
Modern perm kits have made perming your hair at home a lot easier. It is no longer the smelly and messy process that it used to be.
Length and Textures
Short hair can be tricky to work with because of the length. A straight-to-curly hair perm can reduce length. Loose waves may not make much of a difference, but the tighter curls can make your hair look real short. One must also keep in mind that the results of the perm cannot be reversed. Hence, carefully consider the type of look you want to create.
With modern hair perms, you can go for varied looks from tight curls to loose waves or a bushy appearance.
Hair perming not only helps change the hair texture from straight to curly. You can use a straight perm to iron out your natural curls for a straighter look too.
Home Hair Perm Kits
Premium home hair perm kits have been put together to include varied hair types and textures. The right perm kit can be the difference between a disheveled look and a salon-quality finish. Choose your kit with care.
A kit typically consists of a perm cream, papers and a neutralizing solution.
Modern perm kits are less damaging. However, the chemicals used in the cream could vary based on the manufacturer. Opt for brands known for superior quality. Test the kit before you apply it to your hair to check for allergies.
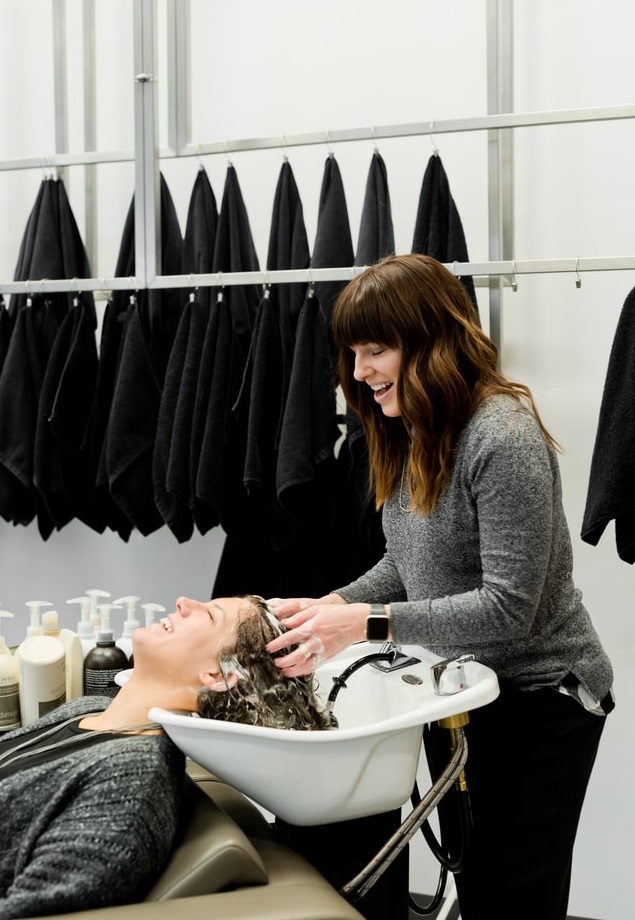
Wash your hair
Working with a clean base gives you the best results with any styling or treatment. Wash your hair with a clarifying shampoo to get rid of dirt and oil from the scalp. Skip the conditioner at least 24 hours before you do the perm treatment. Product residue from deep conditioning will not allow the perm to settle well.
Remove all excess water from your hair. Let it air dry. Use a towel or a T-shirt to dry the hair. The hair can be dry but not soaking wet. Once dry, place a towel on your shoulders around your neck. Wear a pair of gloves. This will keep the chemicals from coming in contact with your skin.
Get help
A home perm kit guides you on applying the perm to your hair from start to end. Having a companion gives you an extra set of hands, whether it is sectioning the hair, using the rollers or applying the neutralizer.
Section the hair
Split your hair into 3 sections – one in the center and two along the sides.
A rat tail comb is a great tool for sectioning the hair. Pin up the sections of your hair to make it more manageable.
Using the handle of the rat tail comb separate thinner strands of hair. These individual strands of hair will be twisted around hair rollers. Taking too much hair will cause the curl to lose its definition.
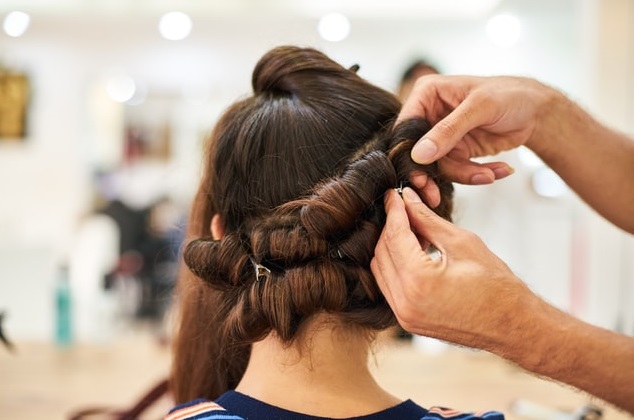
Curl your hair
This how to do a perm at home guide also includes the use of perm papers.
End papers as they are also called are absorbent sheets that are used when winding hair strands around rods. They help distribute solutions evenly across the hair shaft and protect the hair from heat damage.
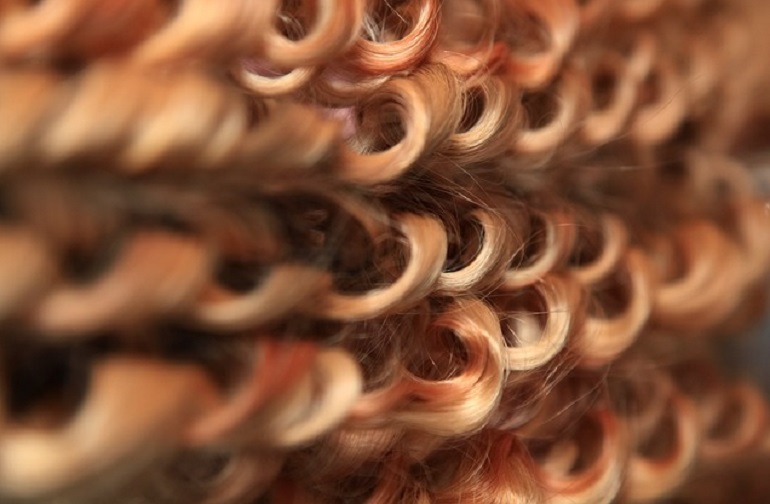
Encase the tips of the strand in end papers and roll up using the benders or rollers. Benders are flexible foam-covered rollers. You can also use a curling rod. The size of the curling rod/ roller depends on the type of curl you want to create. A large size will create a looser curl. Secure the curlers in place.
For the ease of wrapping, the hair can be slightly damp. If it starts to get dry, mist it.
Perm Solution
The next step in how to do a perm at home involves applying the perming solution.
There are two main types: Acid and Alkaline solutions. Alkaline solutions with a higher pH value and ammonium thioglycolate as the primary ingredient are best suited for thick coarse hair and resistant types. The curl definition is also better and the results are longer lasting.
Acid solutions are what I recommend for damaged hair due to a lower pH value. They need heat to be activated. If you cannot figure out the best perming solution for your hair, ask your hairstylist.
Apply a judicious amount of perming solution to your curled hair. Let it sit and soak for the prescribed time. Everyone’s hair sets at a different rate. You can, in between, release a roller to check the curl. Put it back if you do not see the “S” shape.
Use a neutralizer
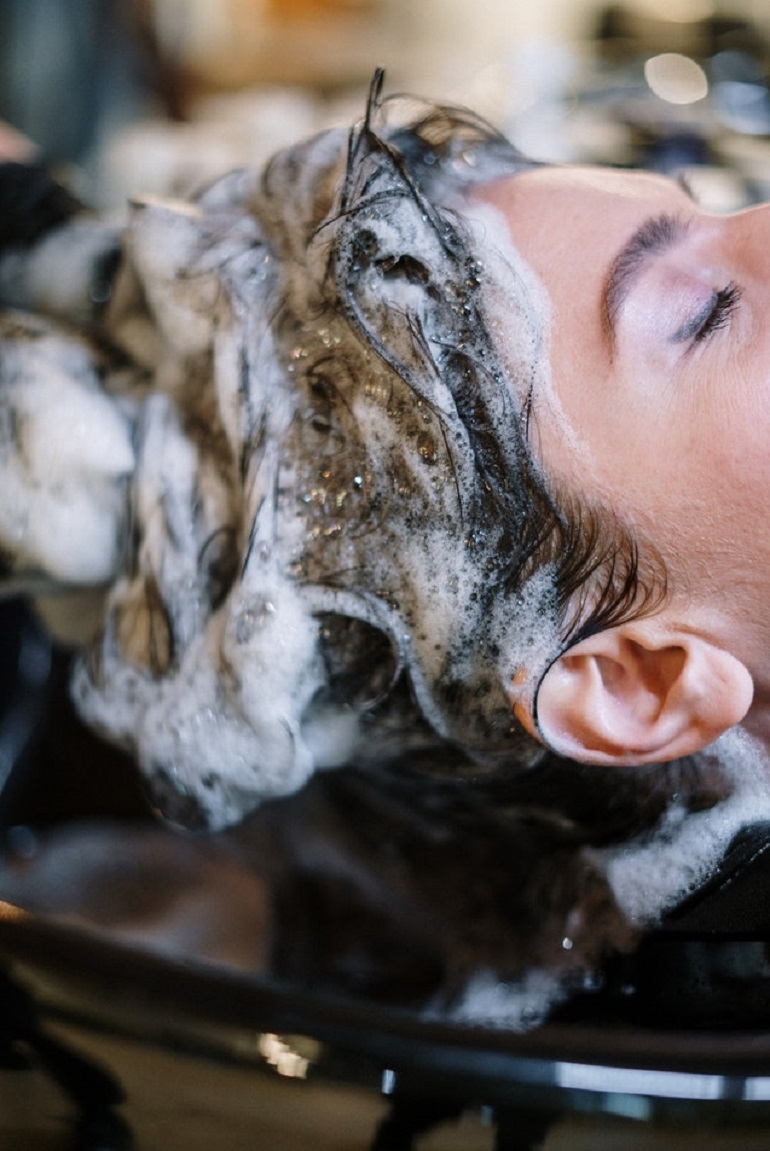
After leaving the solution on for a while, rinse the hair with the rollers on. Let the water run through the hair.
Allow your hair to air dry. You can use a hair dryer to dry your hair. Apply the neutralizer to the hair the same way you did the perm solution. Leave the rollers on and run water through the hair. Leave your hair to dry.
Gently remove the rollers. Let your hair sit. Do not brush or comb your hair. Do not wet your hair for the next two or three days.
Caring for a Perm
Getting a perm does not end with knowing how to get a perm at home. The term “permanent” is a myth. Proper aftercare is the key to longer-lasting cool, voluminous curls.
How long a perm lasts depends on your hair maintenance routine. If you choose to keep your hair short and cut it often, your perm may last for a maximum of months. In case of longer hair, the perm will last longer – 6 to 8 months. As the roots grow out, the curls settle towards the bottom. Thus, you have straighter hair at the top and loose waves at the bottom.
Permed hair cannot be dyed immediately after a treatment. Coloring agents open up the cuticles of the hair follicles depositing the pigment there. This reverses the action of the perming process, reducing its life.
Shampooing too often will also wash off the results of a perm. Hence, reduce exposure to water, especially chlorinated water found in pools.
Will you require touch ups for your perm? It depends on the style of curls you opt for. Loose waves do not require frequent touch ups as they blend well with the natural hair wave – straighter on the top and curled towards the bottom. Tight curls require strict upkeep as new, straight hair growing at the roots looks funny. Do not use heat styling after a perm.
In addition to the after-perm tips given above, the hair products you use are also crucial in your how to perm your hair at home routine. Swap your current hair products with those meant for curly, textured hair. Perms, if left unmanaged, can look dull and frizzy. You need deep condition products that will breathe life into your curls, make them vibrant and bouncy.
Frequently asked questions
How long after a perm can you wash your hair?
Answer: It’s a common question. You should wait at least 48 hours after a perm. There are some hair specialists who suggest giving a gap of 36 or 72 hours before washing your hair after a perm
How often can you perm your hair?
Answer: If you have short to medium length hair, then you can take three to four months’ period time between two perms. Moreover, you can talk to your hair specialist. After checking the health condition of your hair, he could provide you with a perfect decision.
How long after a perm can you color your hair?
Answer: You can take color of your hair 7 days later from the perm treatment date. Sometimes, Your hair specialist could recommend you to wait till two weeks.